Nikita Skrylev
Gameplay Programmer
Game developer with experience in tools and gameplay programming, who strives creating well-written game systems and always ready to new challenges to make games fun.
2020
Arkanoid & Snake
Clones of famous old games was made to learn basics of Unreal Engine.
2020
Tank wars
The third project focused on UI and AI systems. You take control of a hovercraft with one mission: to survive under waves of enemy tanks.
2021
SRL
This game was developed by a team of 6 people and intended to blend shooter and rogue-like genres.
2023-2024
Rift runner
My last project right now where I try to experiment with methods of teleportation.
These two projects were intended for getting familiar with basics of Unreal Engine.
Arcanoid
About
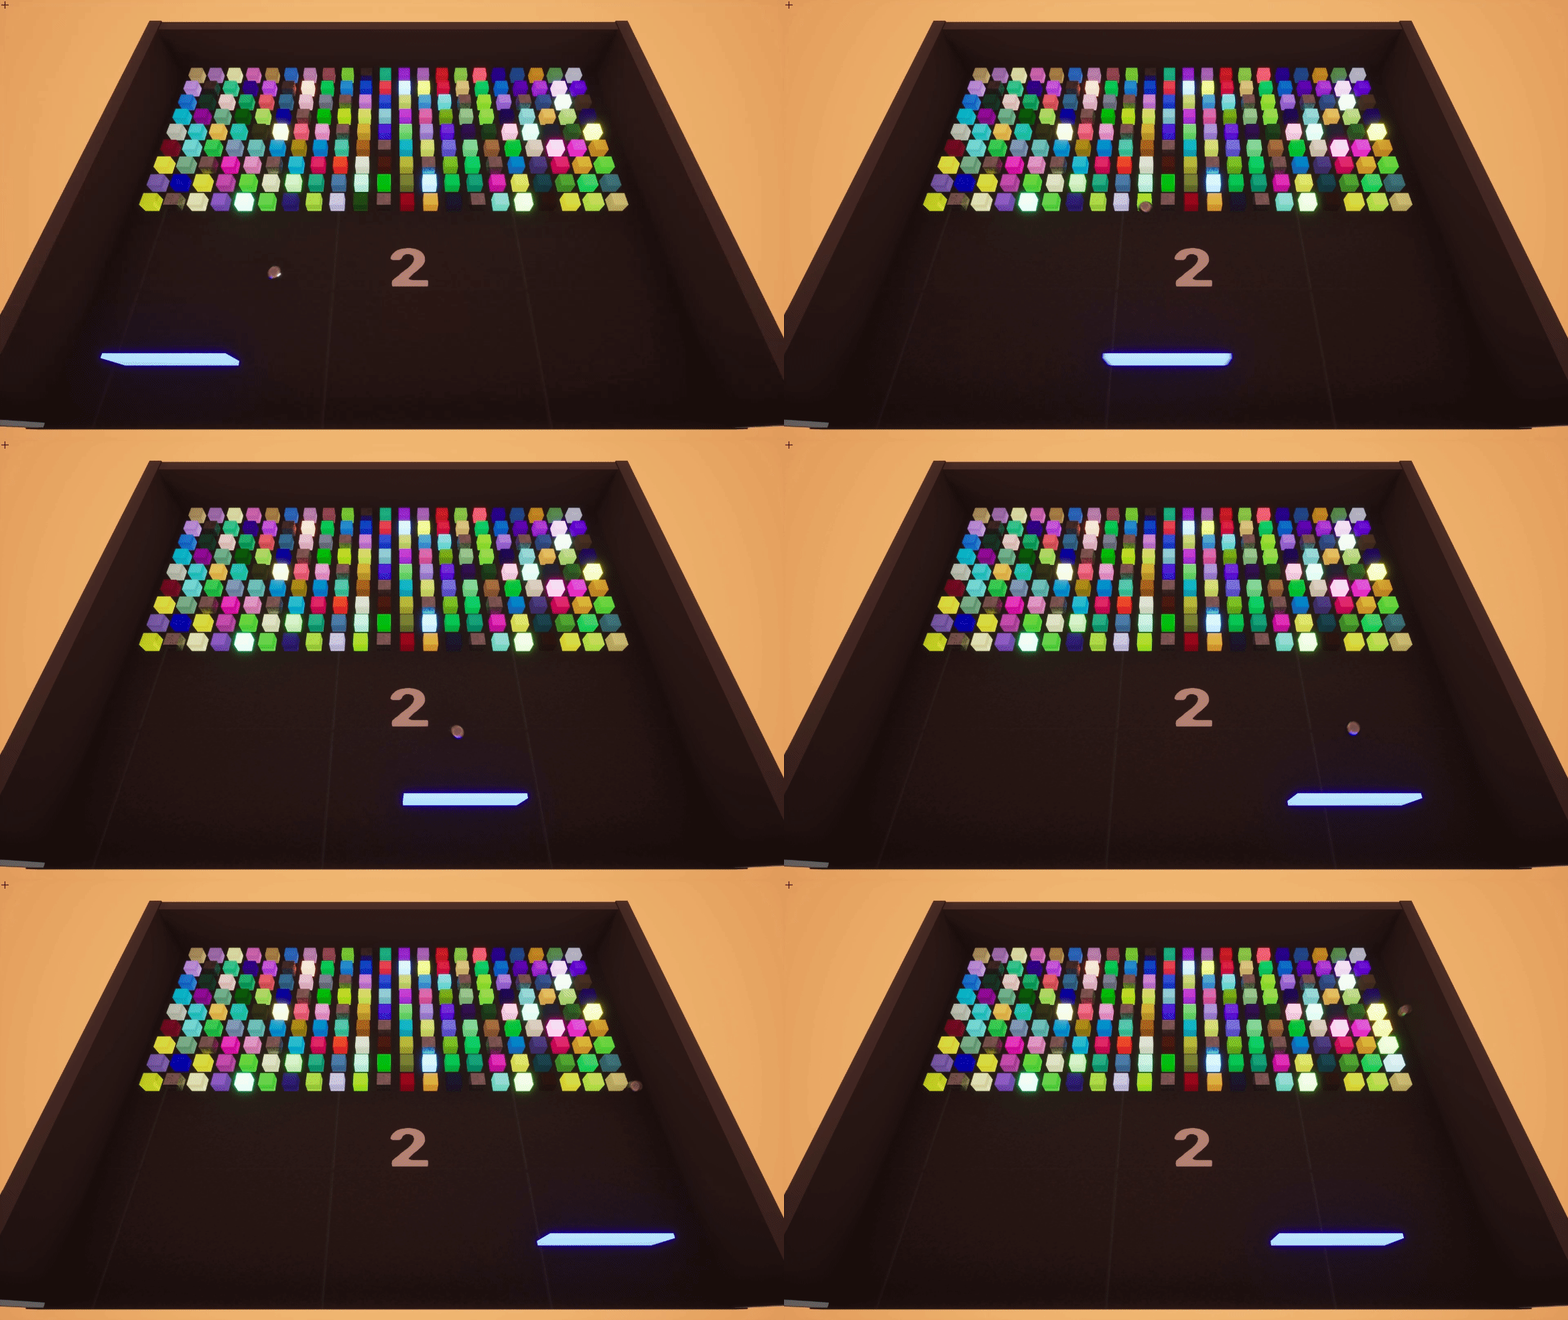
Arcanoid is a clone of the classic video game "Arkanoid," which was released in 1986. It was created to familiarize oneself with the Unreal Engine's Editor and to become accustomed to working within it.
Your goal is to destroy all the blocks with the ball that bounces off your platform and to avoid letting it pass you.
Introduction
During this project, my goal was to to become more familiar with basics systems of Unreal Engine. I chose to use only Blueprints to concentrate on Editor workflow and controls. The soul of the game is in movement and, well... blocks. I decided to randomly spawn blocks in every game to ensure a unique experience each time."But wouldn't it be pointless if there were only one type of block?" - That was my exact thought! So, I delved into learning how to create various visual effects and gameplay behaviors.
Gameplay
The core gameplay concept is straightforward: Destroy all blocks while ensuring the ball doesn't get lost.
There are three types of blocks:
- Invincible: These blocks can't be destroyed and serve to frustrate the player by their mere presence.
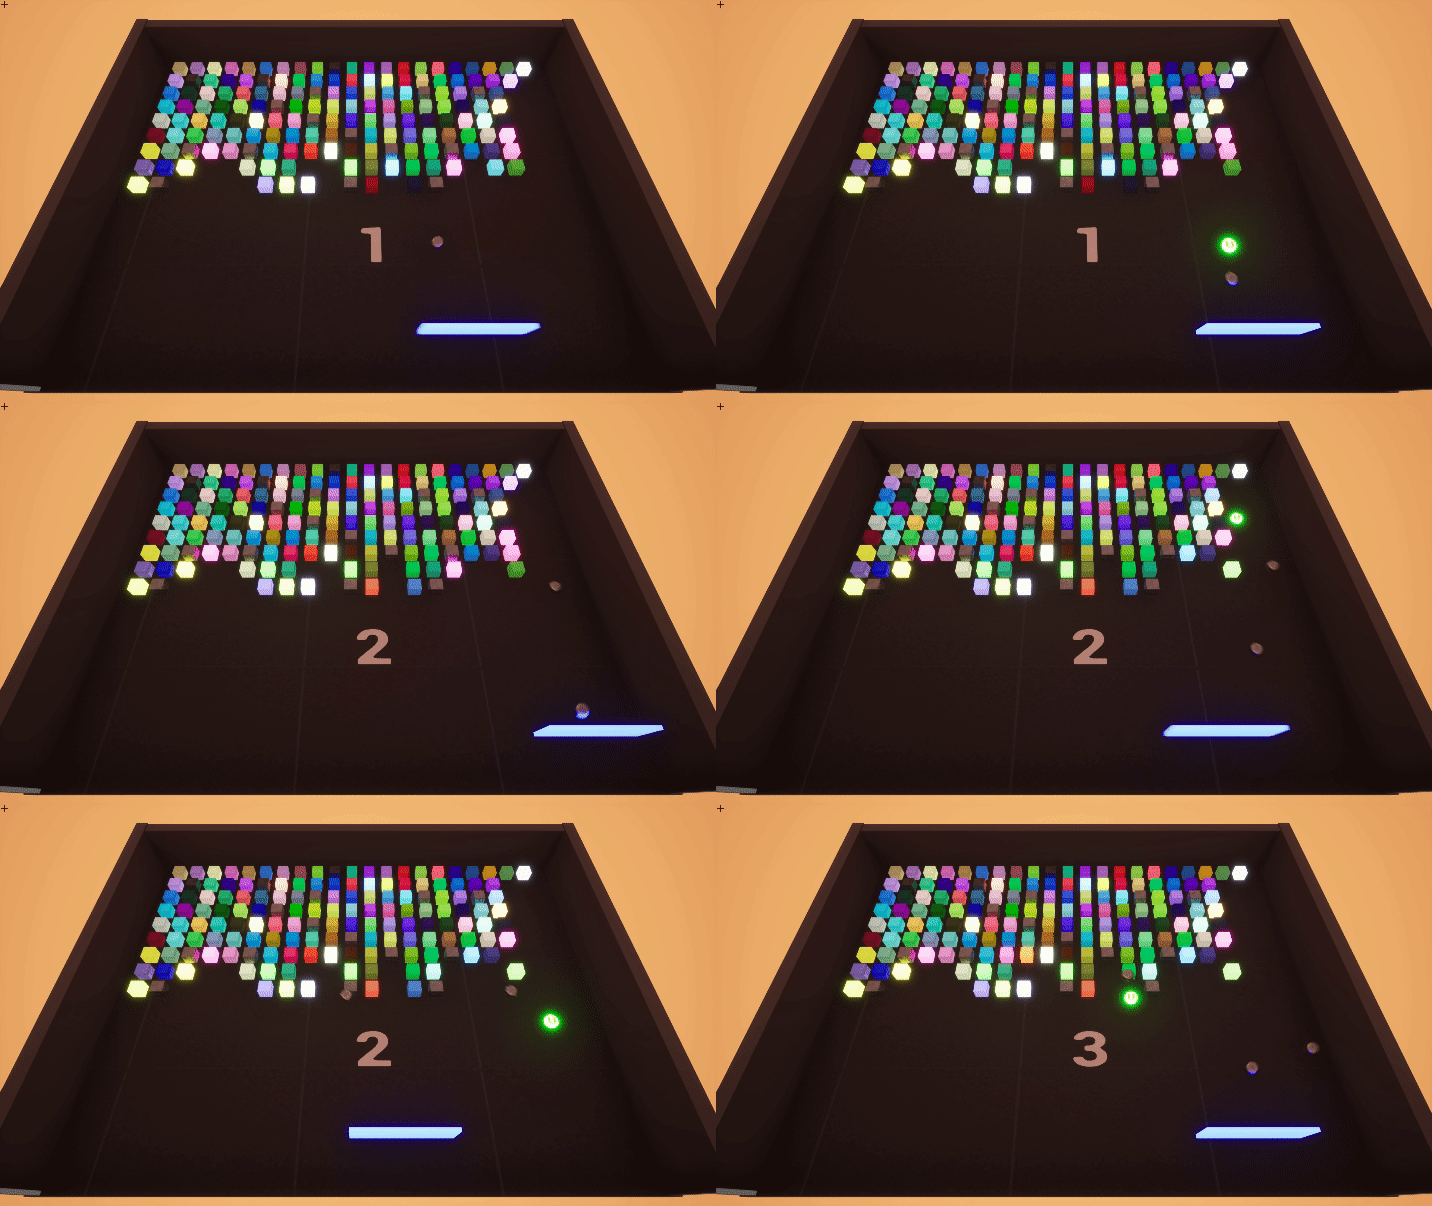
- Default: Each has a unique color and, upon impact, begins to glow.
- Glowing: These blocks are destroyed upon impact and have a chance to drop a bonus.
To spawn these blocks randomly with varying probabilities, I chose to place all blocks into one class and utilize the Construction Script to spawn them randomly. Designers can adjust the probabilities of block and upgrade spawn and adjust space between them in the blueprint.
Now it was time to create the main weapon: the ball. It functions as a simple projectile with its own movement and velocity. To increase the game's difficulty, I introduced a hit-and-speed mechanic. When the ball hits any surface, its speed increases by 10 percent and gradually decreases over time if no further hits occur. This mechanic makes it challenging for the player to catch the ball, especially if it hits many blocks in a short time, motivating them to catch upgrades that provide additional balls.
Thoughts
While working on that project I understood that development with Blueprints is not very different from coding your own solution but rather more visible. Thus, it was time to get my hands on C++ aspect of Unreal Engine for my next demo.
Snake
About
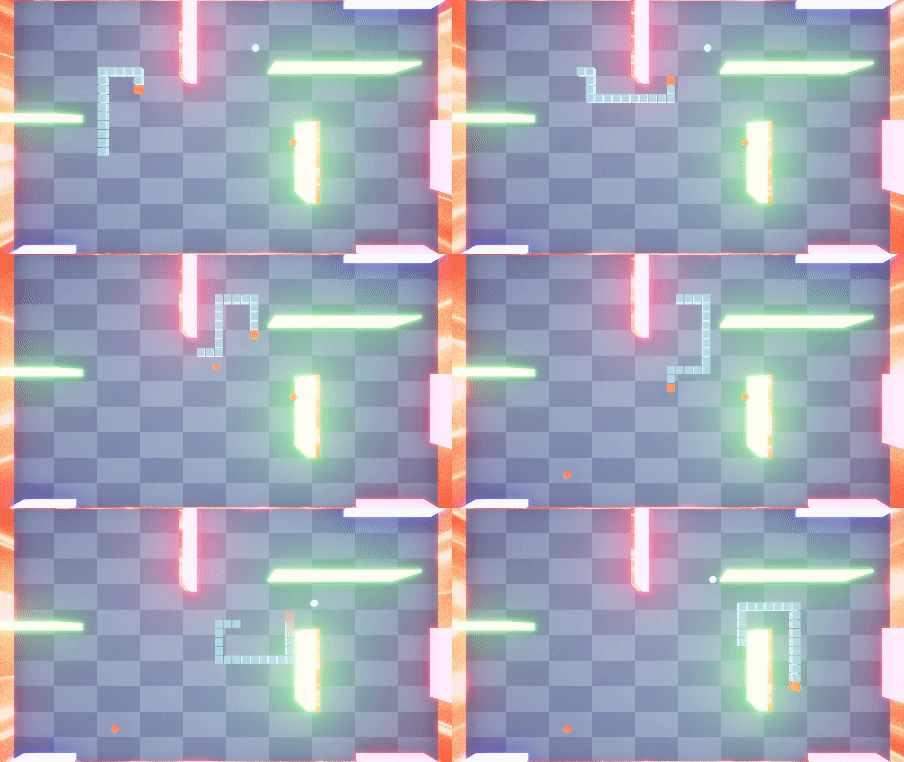
"Snake" is a clone of the classic video game "Blockade," which was released in 1976. Through this project, I gained an understanding of coding within the Unreal Engine framework.
"Snake" is an addictive arcade-style game that puts players' reflexes and strategic thinking to the test. Maneuver through a maze of vibrant blocks, dodging obstacles and seizing power-ups to amplify your gameplay experience.
Introduction
While working on the first game, I concentrated on events in Blueprints, but for this one, I moved all logic into C++ code to understand the differences in the two ways of programming with Unreal Engine. I learned how to use events, store and expose variables, interact with different objects, and use interfaces, as well as inherit them.
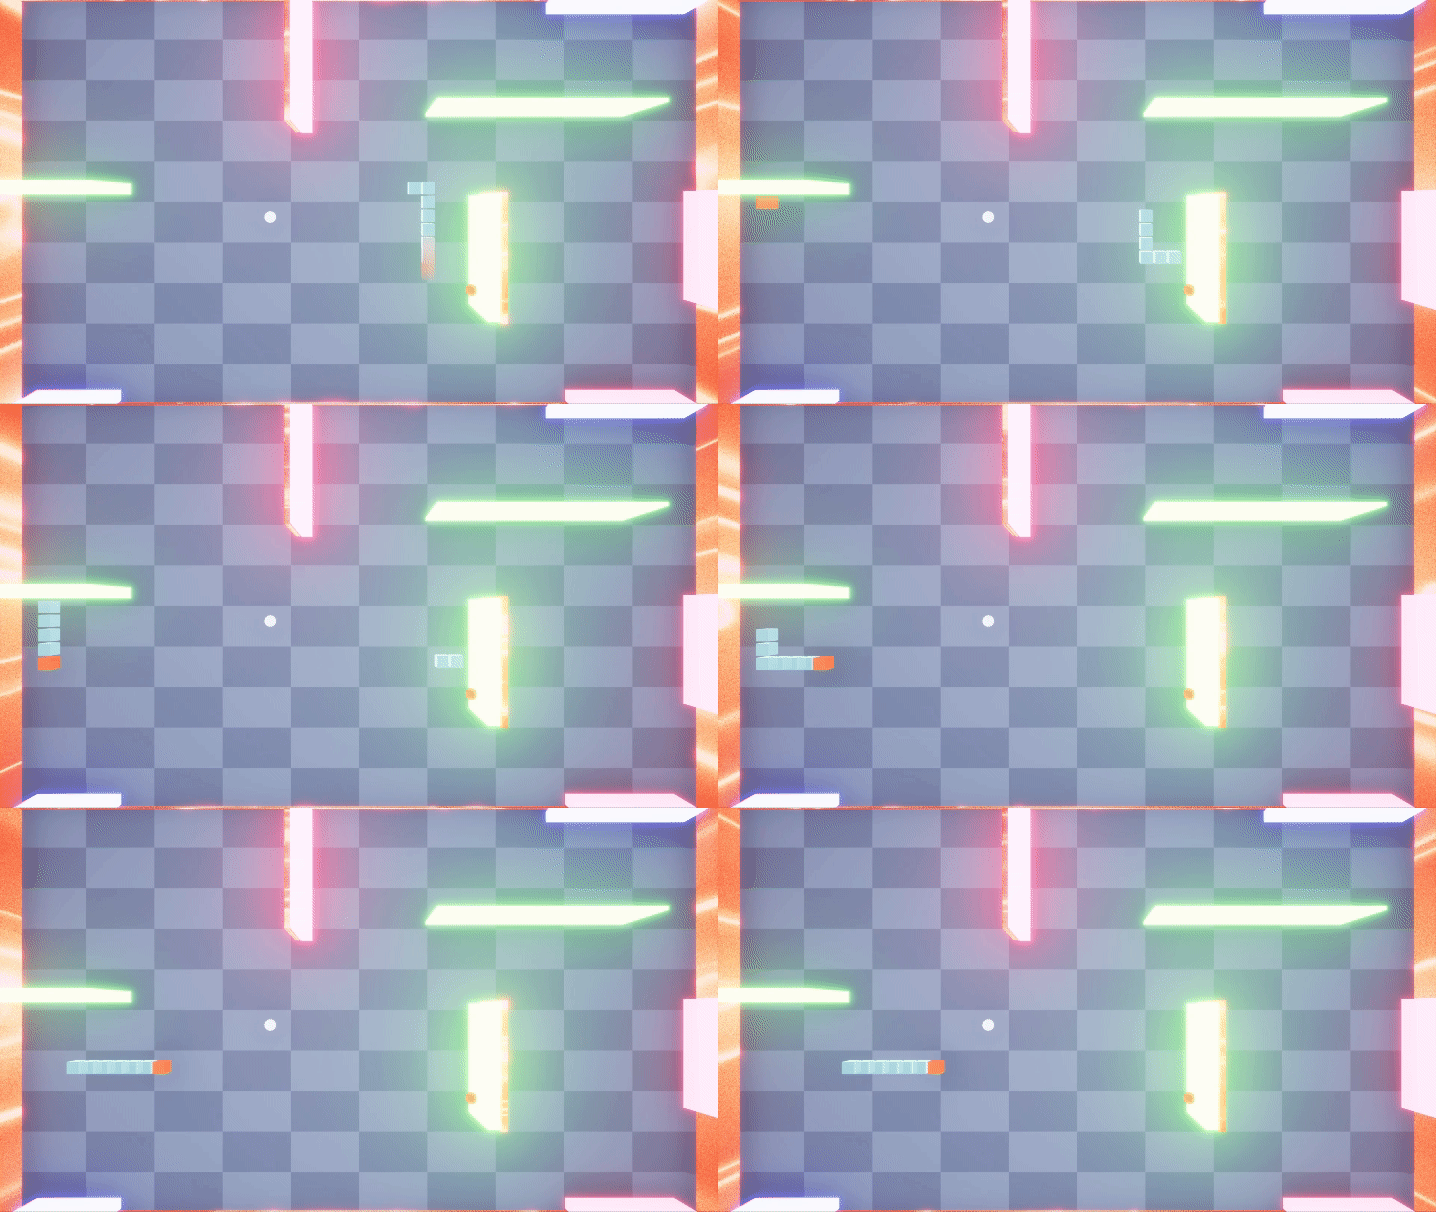
In the game, your goal is to stay alive for as long as possible, avoiding obstacles or your own tail. You can eat spherical food to grow, gain, or lose speed. On the level, you'll see glowing walls; if you dare to touch them, they'll teleport your snake to another wall with matching color.
Gameplay
The player can only control the direction of movement while the snake moves autonomously. This design creates tension as players must carefully choose their next moves and plan their path. If the snake touches red glowing walls or its own tail, the game ends. To heighten the tension further, I added two types of food, resulting in three different classes:
- Acceleration sphere: A red sphere that speeds up the snake.
- Deceleration sphere: A blue sphere that slows down the snake.
- Default sphere: A sphere that doesn't modify the snake's speed.
To implement these changes for the snake, I needed a method of interaction. I created an Unreal interface to provide a unified way of interacting with objects. At this stage, I also had the intention to use this interface for portals, although that's a topic for later. Whenever the snake collides with something, it attempts to find the interface and calls the Interact function. This approach eliminates the need to check the class each time we want to interact with something. Upon interaction, we verify that it was the snake's head, then add a new element to the end of our snake
Food spawner
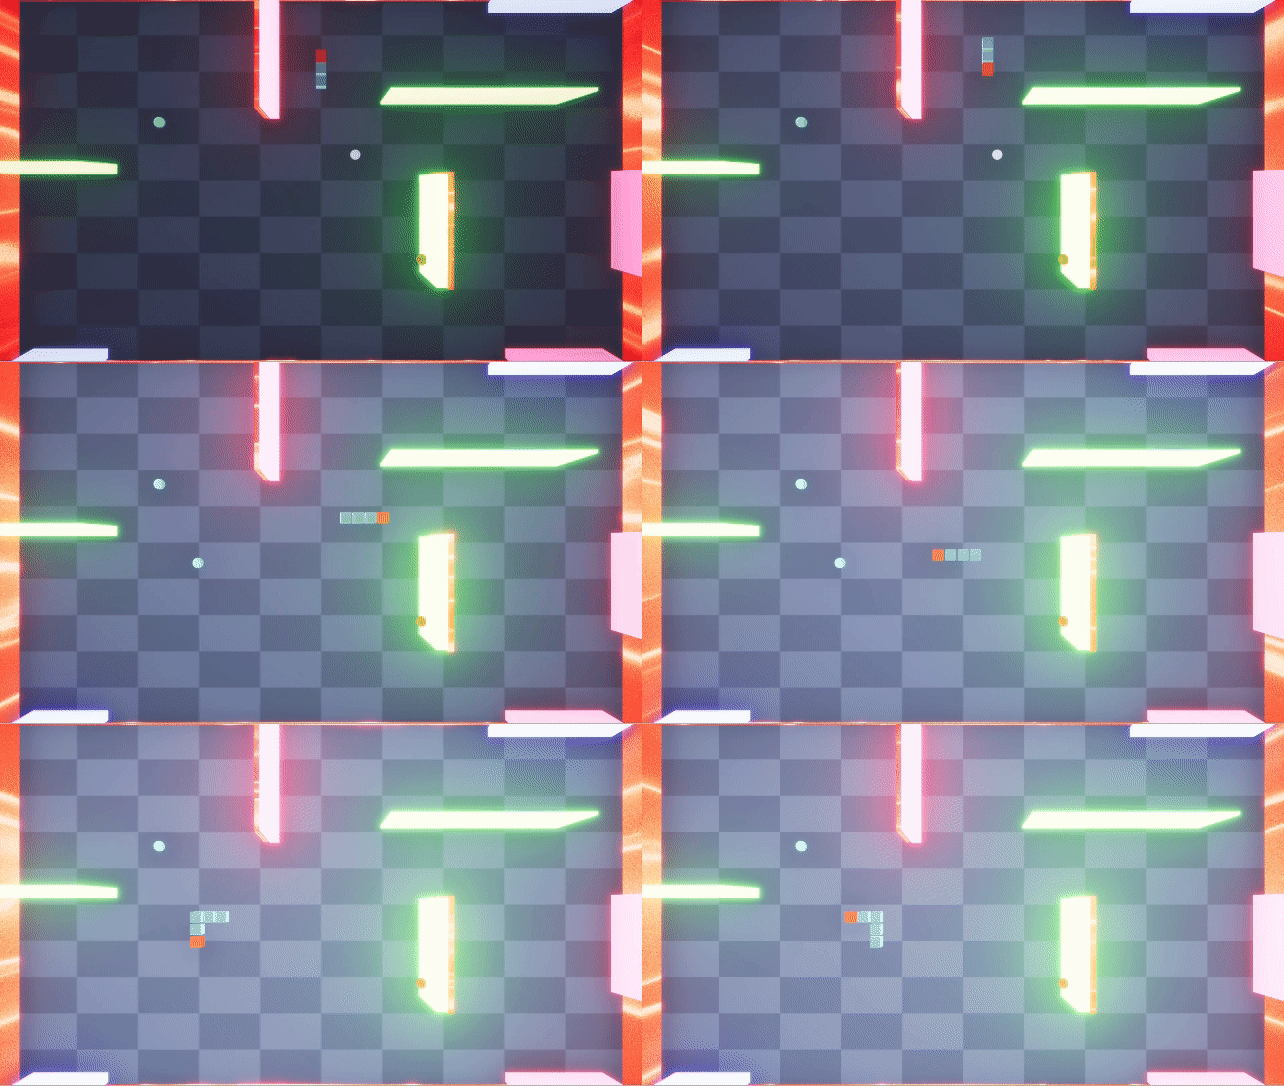
But what if the player ate all the food on the level? We need a mechanism that will spawn food in a new place. I created a special class named Spawner and set parameters for the field where objects can be spawned. When the snake interacts with food, we call a custom Delegate that we subscribed to, notifying our spawner that we need a new chunk of food on the level. Additionally, we randomly choose a food effect from those presented in the Food Subclasses' Array.
Movement
The snake consists of elements, allowing us to dynamically add new elements when the snake's head interacts with food. We then call the move function every tick (just to keep it simple for now) and update the location of every element by placing the (i+1)th element at the location of the ith element. When we receive a new element, it is added to the end of the array.
Portals
All main gameplay features were ready but I felt needs to add something more. Since the snake updates it's element movement by giving position of an element to the next one, I could add portals to teleport snake piece by piece and since I already have interface, I could just use the same way it is used with food. Then we need to get bounds of teleport and the head, since it can be change later, summarize it and add some offset to prevent collision.
What I learned
When I started, I had experience working with C++ and the Qt Framework for quite awhile, but Unreal Engine was a completely new development field for me. While working on it, I noticed that most of my knowledge helped me to understand the workflow faster. Throughout the entire development process, I felt great enjoyment not only when something worked as intended but also when I was experimenting or trying to understand how it works in the engine.
As for the game, I learned to use Blueprints and C++ equally. I became familiar with Material systems and the basics of the main framework, such as collisions, garbage collection, and Unreal-based types. Getting acquainted with Unreal interfaces, components, and events allowed me to meet my basic needs for the development of future projects.
Tank wars
About
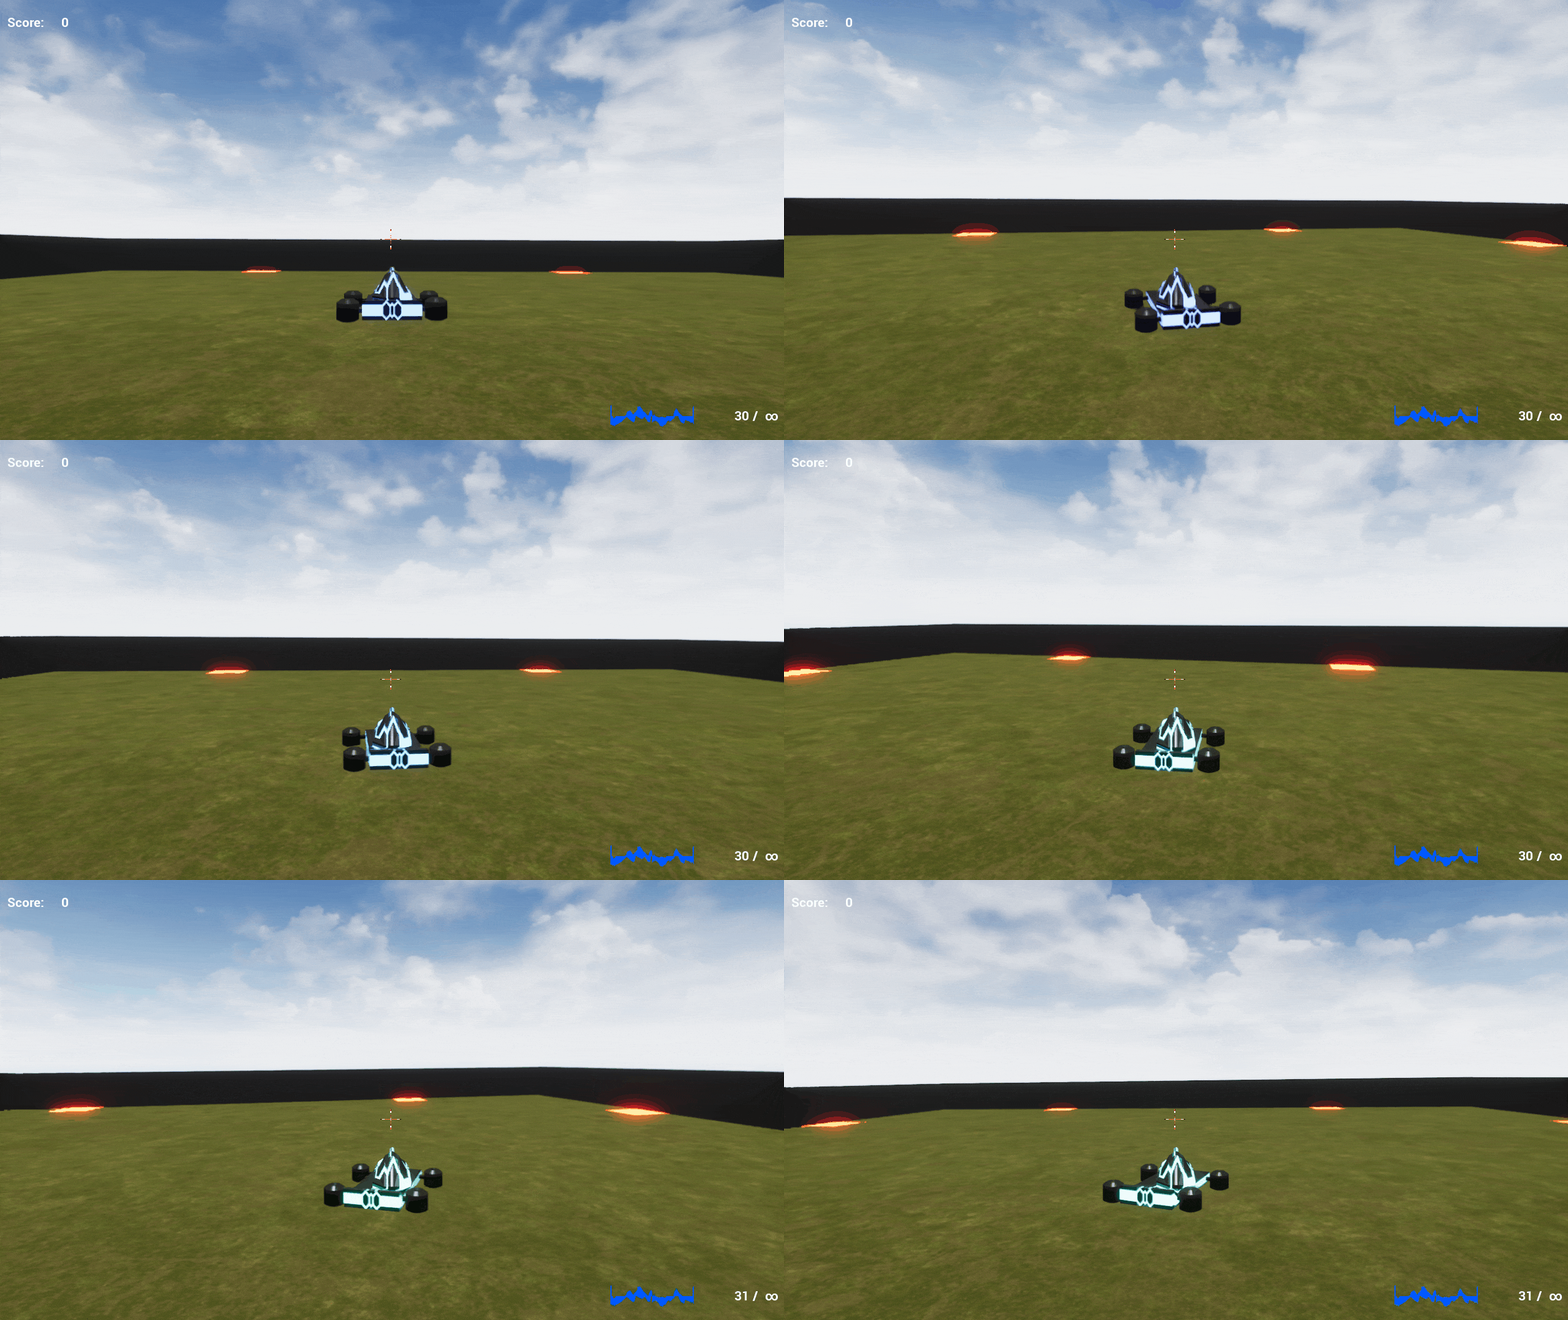
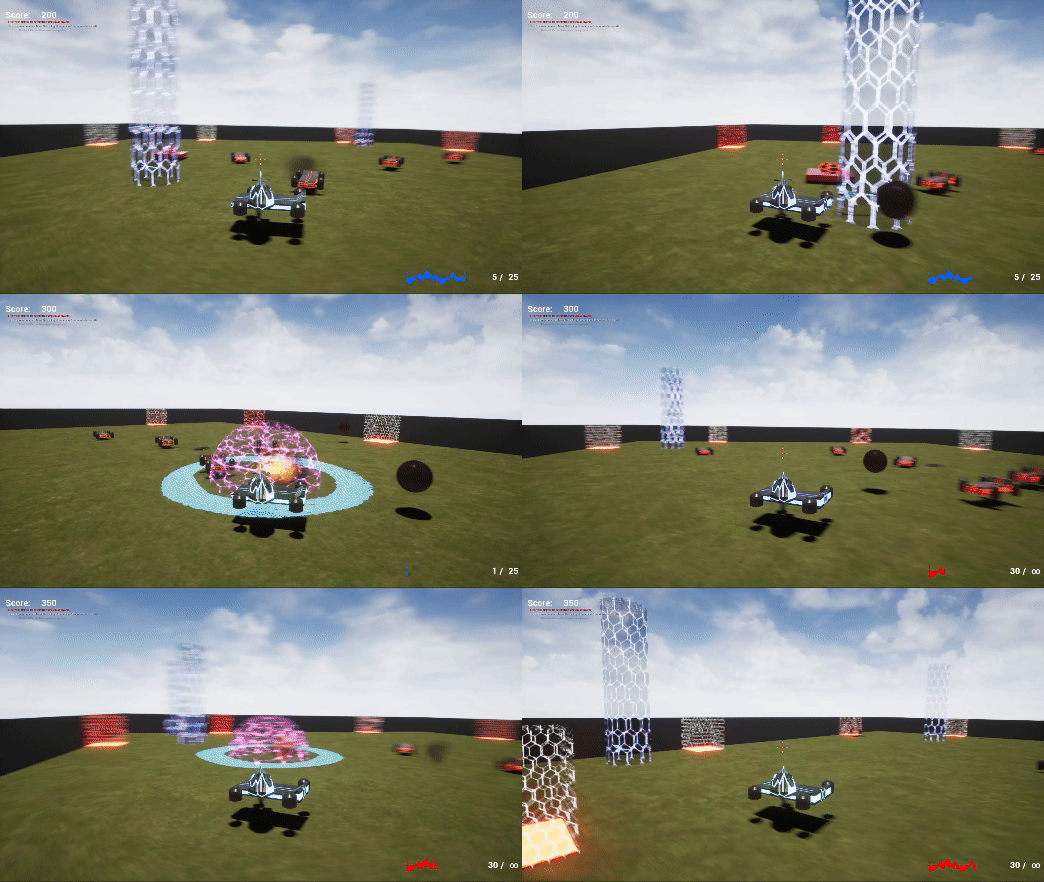
Tank Wars was my third project on Unreal Engine, and I was ready to delve into more serious development. This time, I aimed to expand my experience by tackling a more complex project and further exploring Unreal Engine systems.In this game, you take on the role of a hovercraft and attempt to survive against waves of enemies. Utilize your secondary attack for self-defense and seek out random upgrades to temporarily enhance your abilities.
Introduction
In this project, I chose to explore several Unreal systems that I hadn't utilized in previous games. UI is a critical aspect of video games, and it was time to learn how to implement it in Unreal. Sound is also essential for games, so it found its place here as well. And, of course, it was time to introduce enemies to the game using the basic Behavior Tree.
You control a hovercraft that uses special components underneath it to push it upwards. Enemies randomly spawn from designated points in waves. Your primary objective is to survive for as long as possible, destroying enemy tanks and earning points in the process. There are two types of enemies, each rewarding a different amount of points. You can shoot and activate a protective shield for a short duration. To enhance gameplay, you'll encounter upgrades on the map that grant a semi-automatic gun.
While the previous project took around 2-3 days, this one was completed during my one-week vacation. However, the results were completely worth the time and effort.
UI
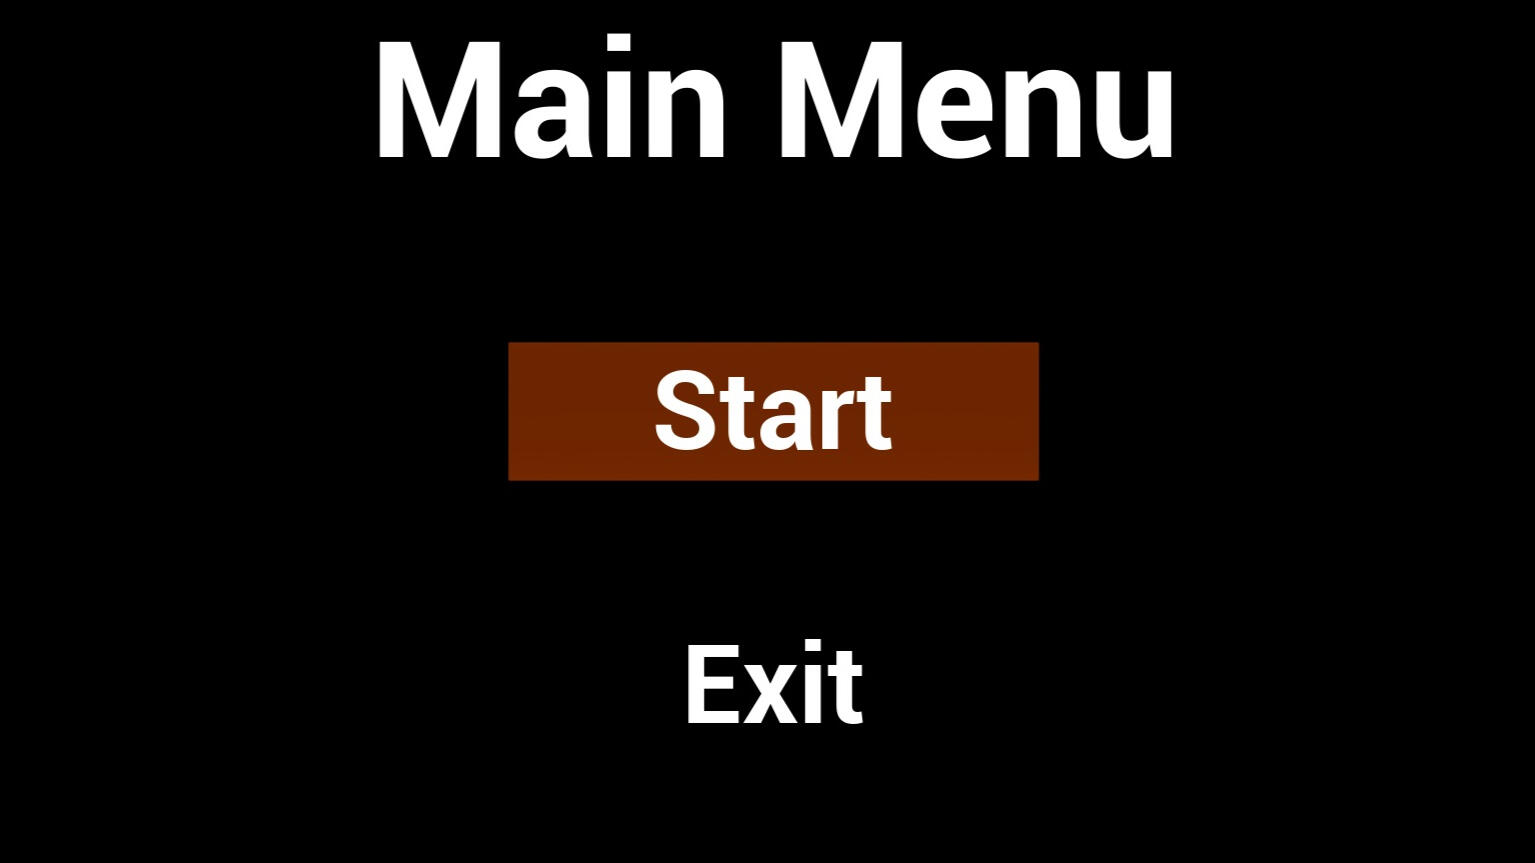
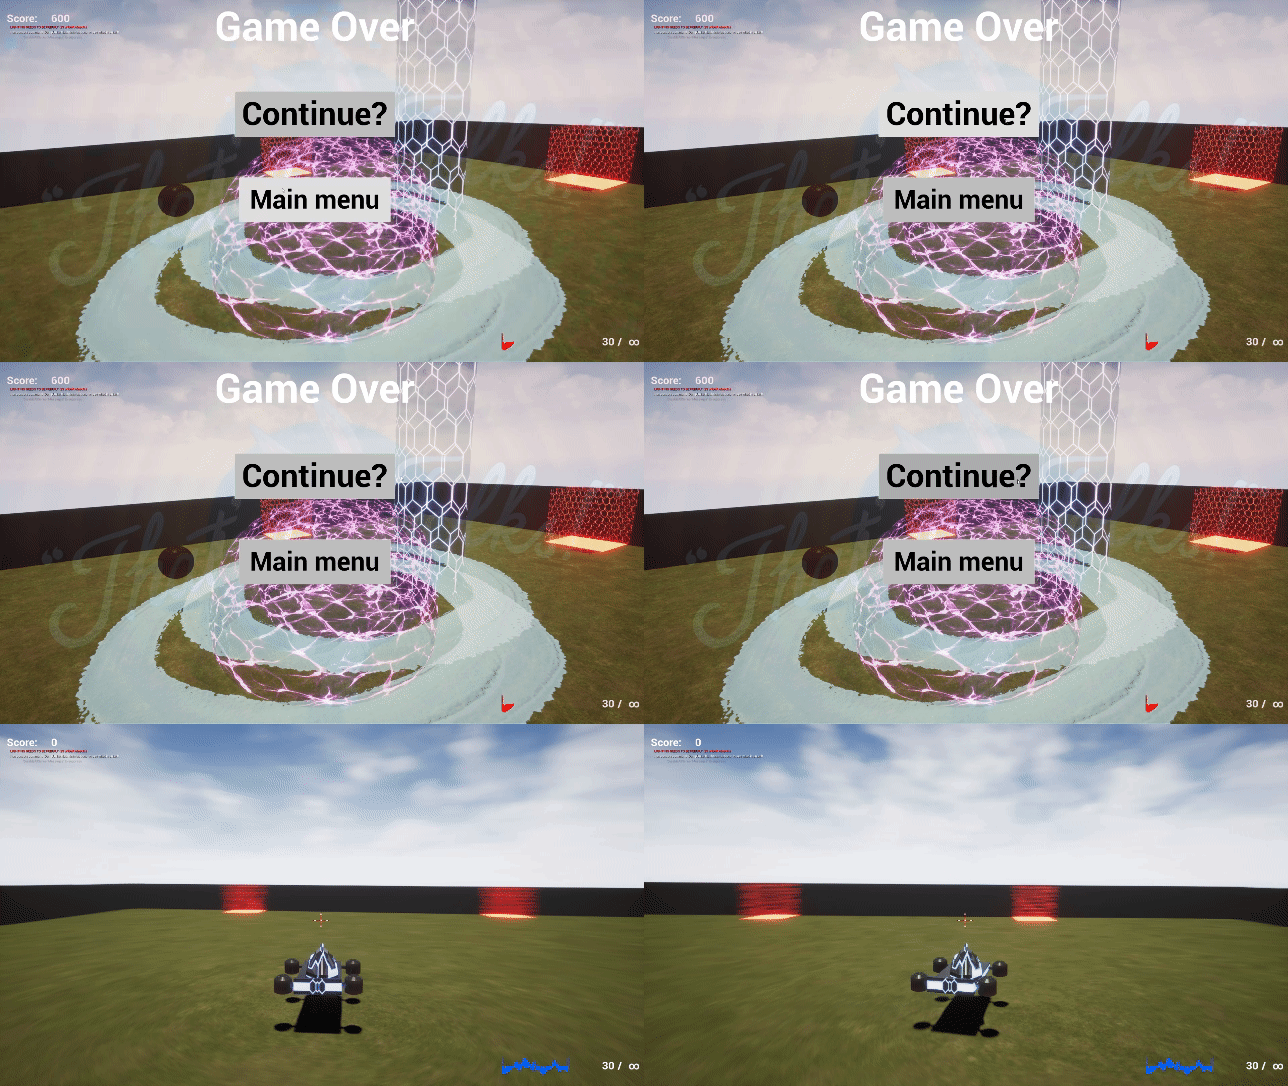
I'm no stranger to UI, having extensive experience in creating them with Qt. However, Unreal offers a different set of capabilities compared to Qt. Therefore, I had to adapt and try my hand at creating UI elements in Unreal. I decided to start with a simple main menu, keeping it straightforward with just two buttons: one to load the level and another to quit the game.The Game Over menu followed a similar layout, so I focused my attention on the HUD. This time, the game required features such as shield reload cooldown, score and ammo counters, which posed a challenge in connecting visuals with my code, especially when I first started working on the project. After investing some time in studying tutorials, I managed to overcome this hurdle, finding the process much easier than anticipated.
Movement
While brainstorming ideas for the game, I was wondering how I can utilize physical forces to enhance the sensation of controlling a large tank. The natural solution was to leverage impulses and inertia. And after experimenting with movement component I decided to use utilize directly. In most projects you would simply provide the Move function with a direction for the character to move. However, here you play as a tank, and physical forces push your pawn in chosen directioncreating a sense of indirect control. The final implementation resembles this code:Body->GetForwardVector() * Force * AxisValue. But this code isn't quite optimal yet, as it lacks the ability to steer in any direction. To address this, we need to modify the MoveRight function to save the turning speed: TurnSpeed = AxisValue * TurnAcceleration;, and then handle the steering on Tick by gradually reducing its effect:
AddLocalRotation(FVector(0,0, TurnSpeed));
TurnSpeed *= FadingRate;
To add an extra layer of complexity, I decided that my tank should hover. I created a custom hover component that applies force on tick to its owner by tracing a line downward. If a hit is detected, the component calculates the force based on the distance and applies it to the pawn. As a result, the pawn is equipped with four hover components on each end to maximize stability.
Behavior tree
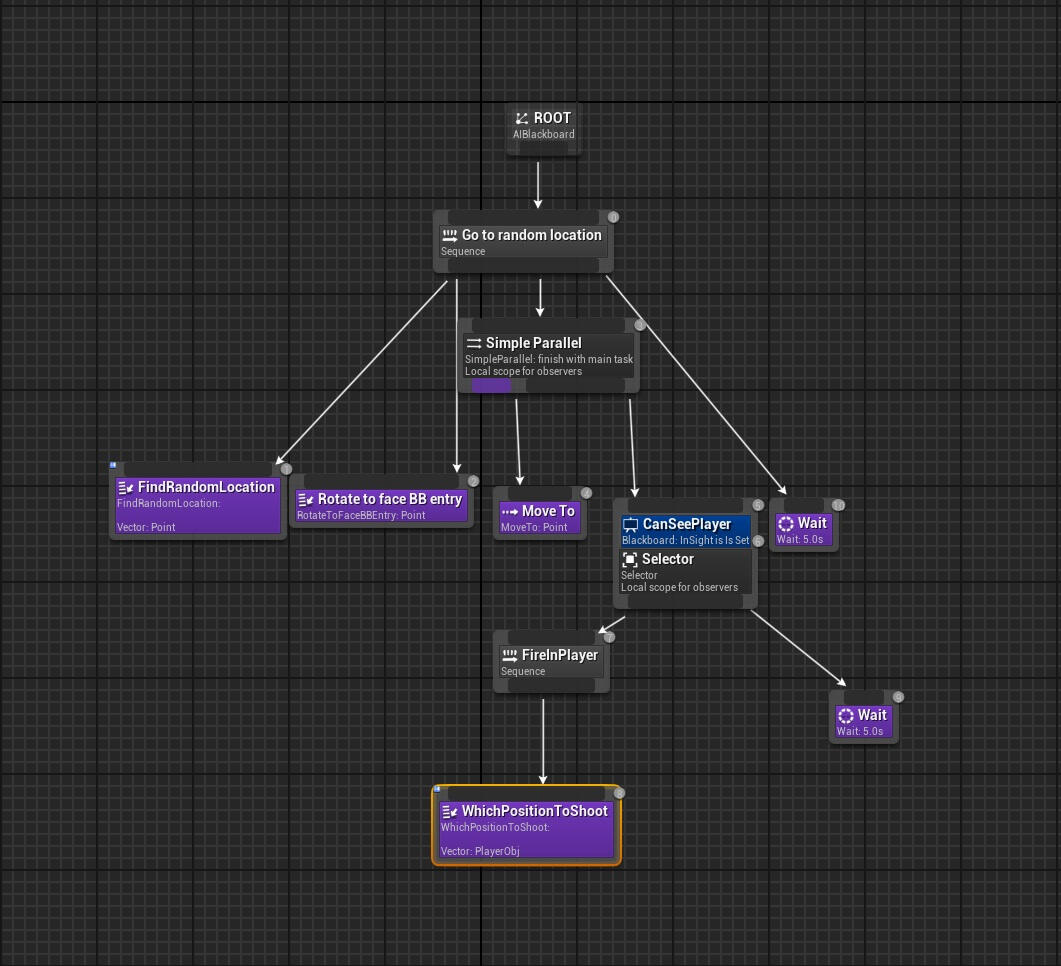
But what's the point of having your own tank if you can't blow something up? With that said, it's time to introduce enemies! I won't delve into describing spawners again, as they function similarly with randomized timers. However, it was my first time working with a behavior tree, which will be used by me quite often in my future professional work. Instead of spawning only static objects that remain in one place, we will now spawn pawns with their own behavior. We randomly select the type of vehicle to spawn, and when the time comes, the chosen vehicle appears on the map from the spawner.The first type of enemy is straightforward - the Kamikaze. Its behavior consists solely of a move-to function and an explosion on hit event. The second type is also relatively simple but with additional logic. It searches for a random location to move towards, and if it detects the player's pawn, it engages in shooting. There's no need for complex coding; all of this was implemented using blueprints, eliminating the necessity for C++. However, it provides a solid foundation for understanding Behavior Trees, knowledge of which I intend to expand upon in future projects.
What I learned
As my projects grew, it became more that obvious that Unreal Engine has many advantages. For most tasks, you have ready-made solutions available, saving you time on basic functionalities. Instead of learning how to program decals or sounds from scratch, you can simply call one function, which is often sufficient to get started. With Behavior Trees, it's straightforward to make your enemies behave in a simple manner (although it can be challenging for more complex behaviors). Additionally, you can implement non-standard solutions, such as custom movement, which can be prototyped quickly. Unreal Engine's visual scripting capabilities definitely streamline the development process and save time.
SRL
About
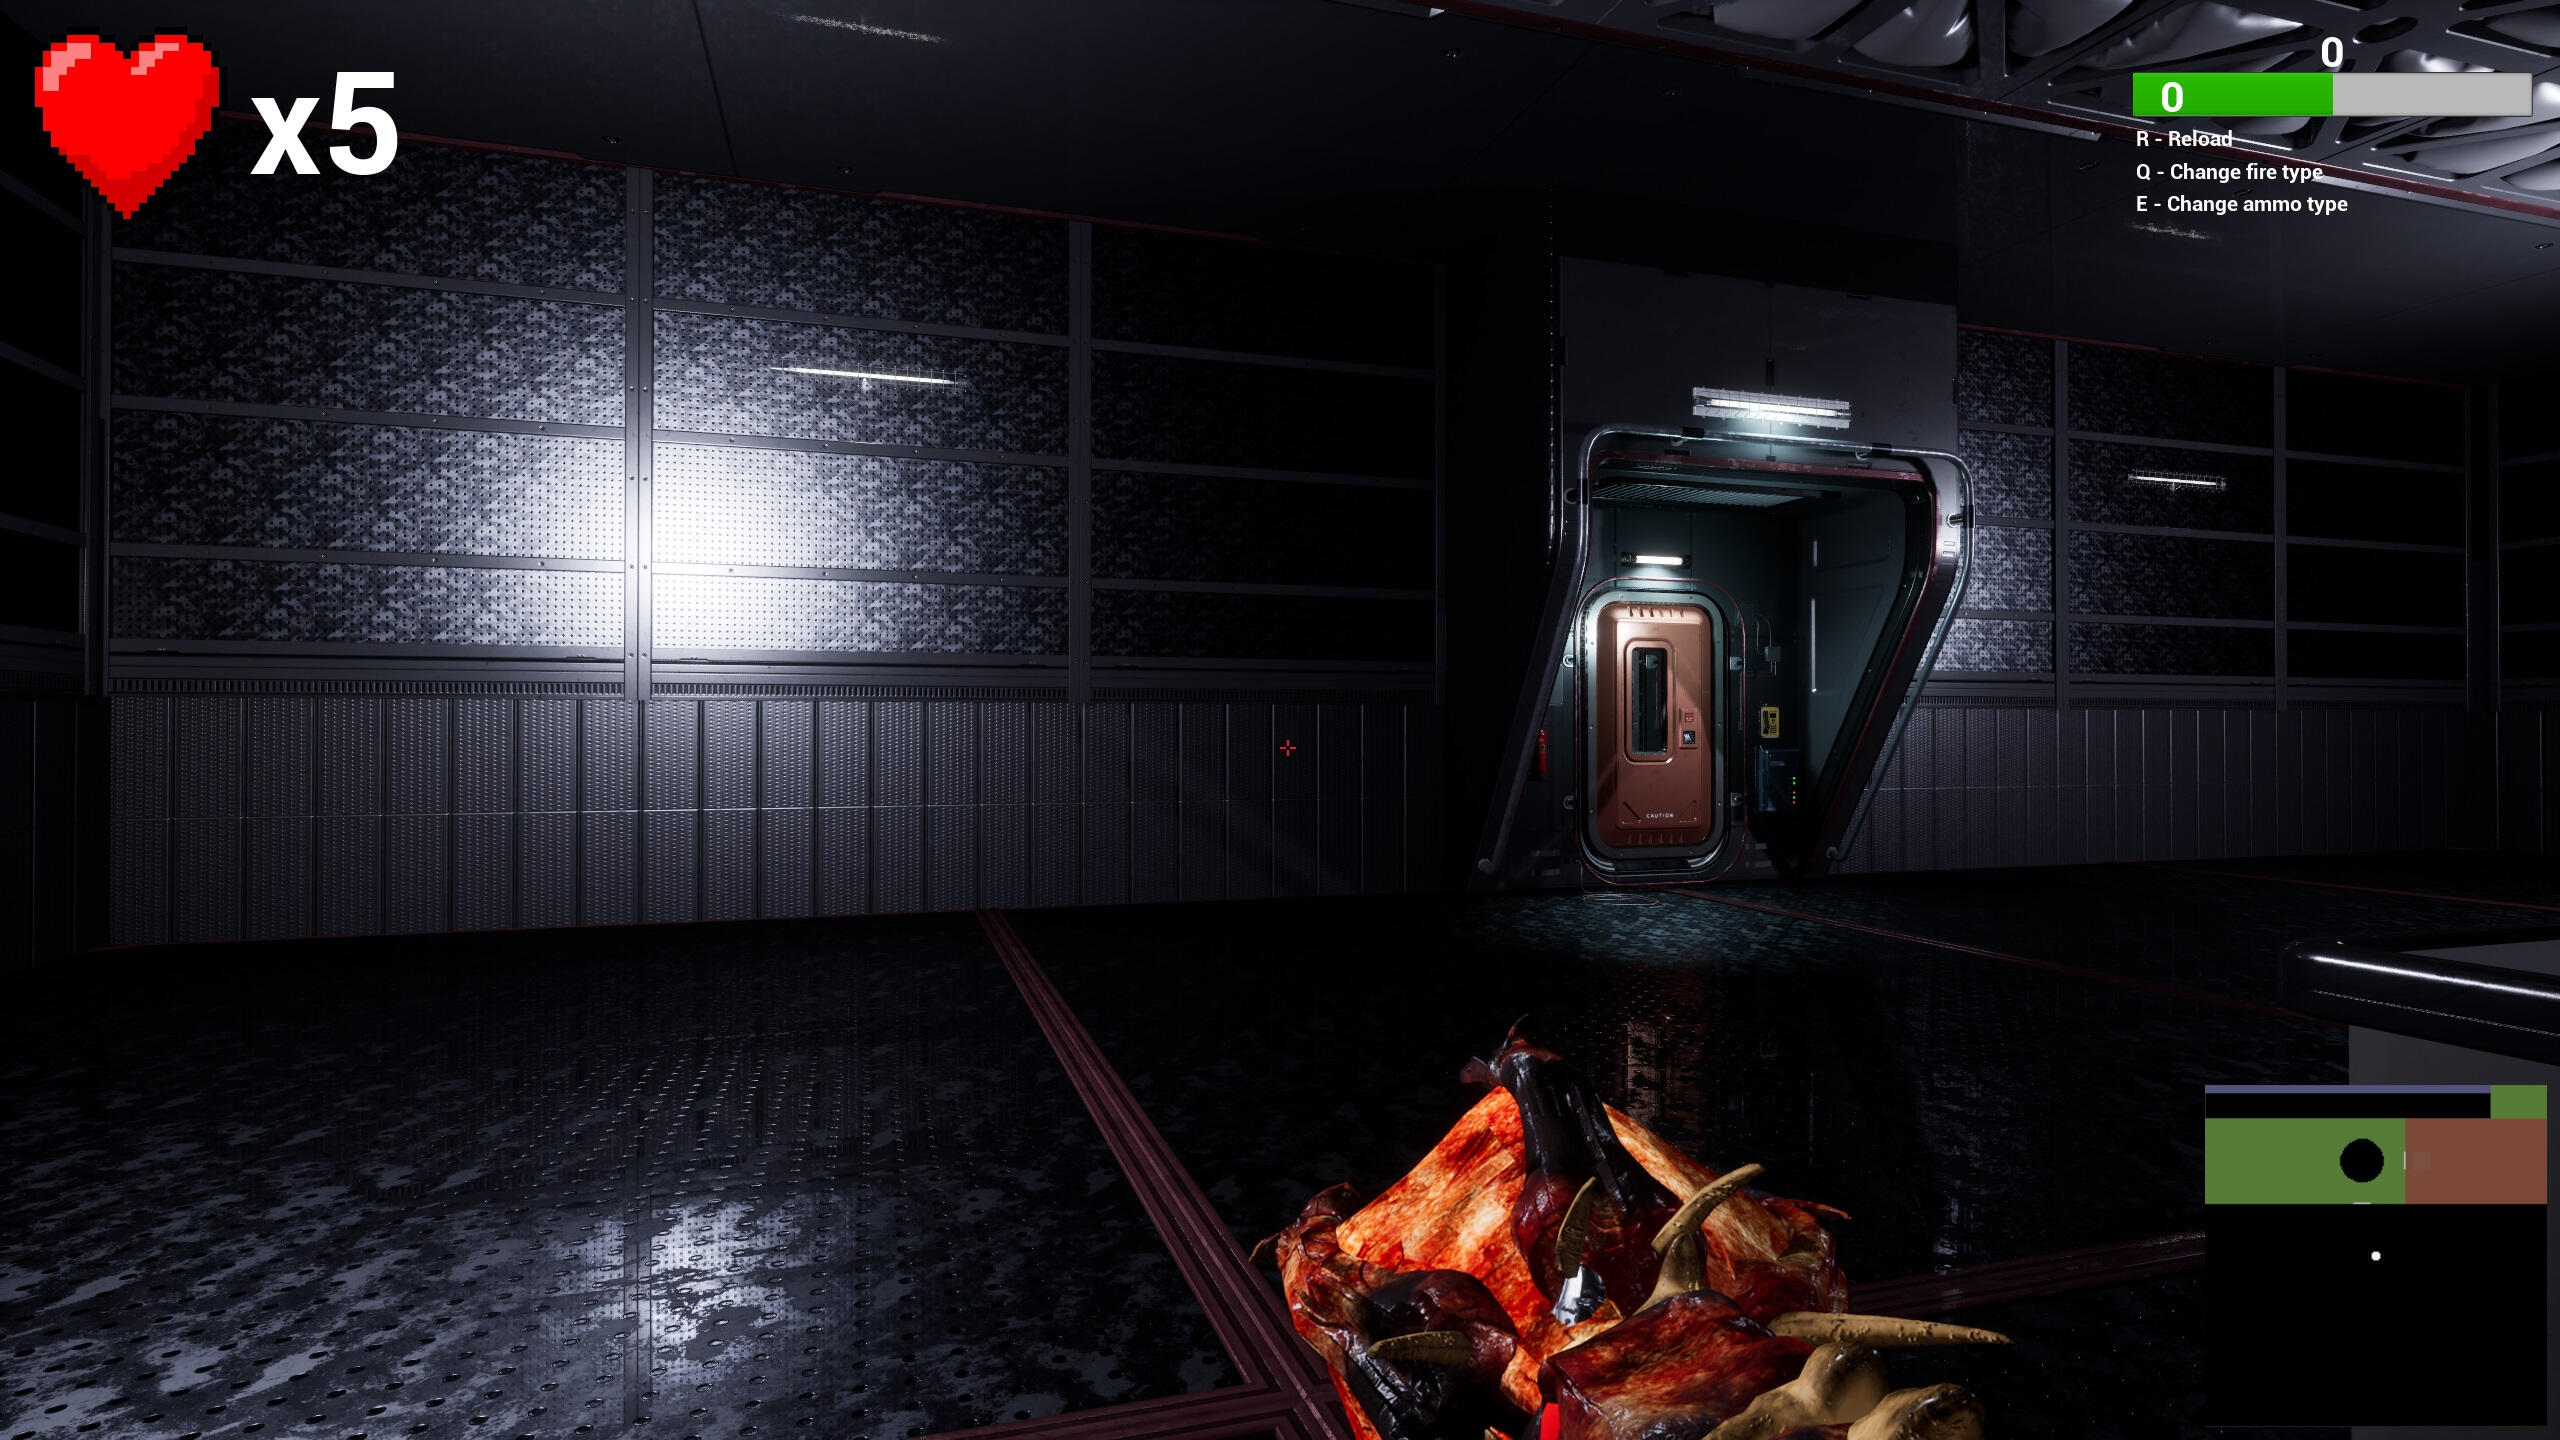
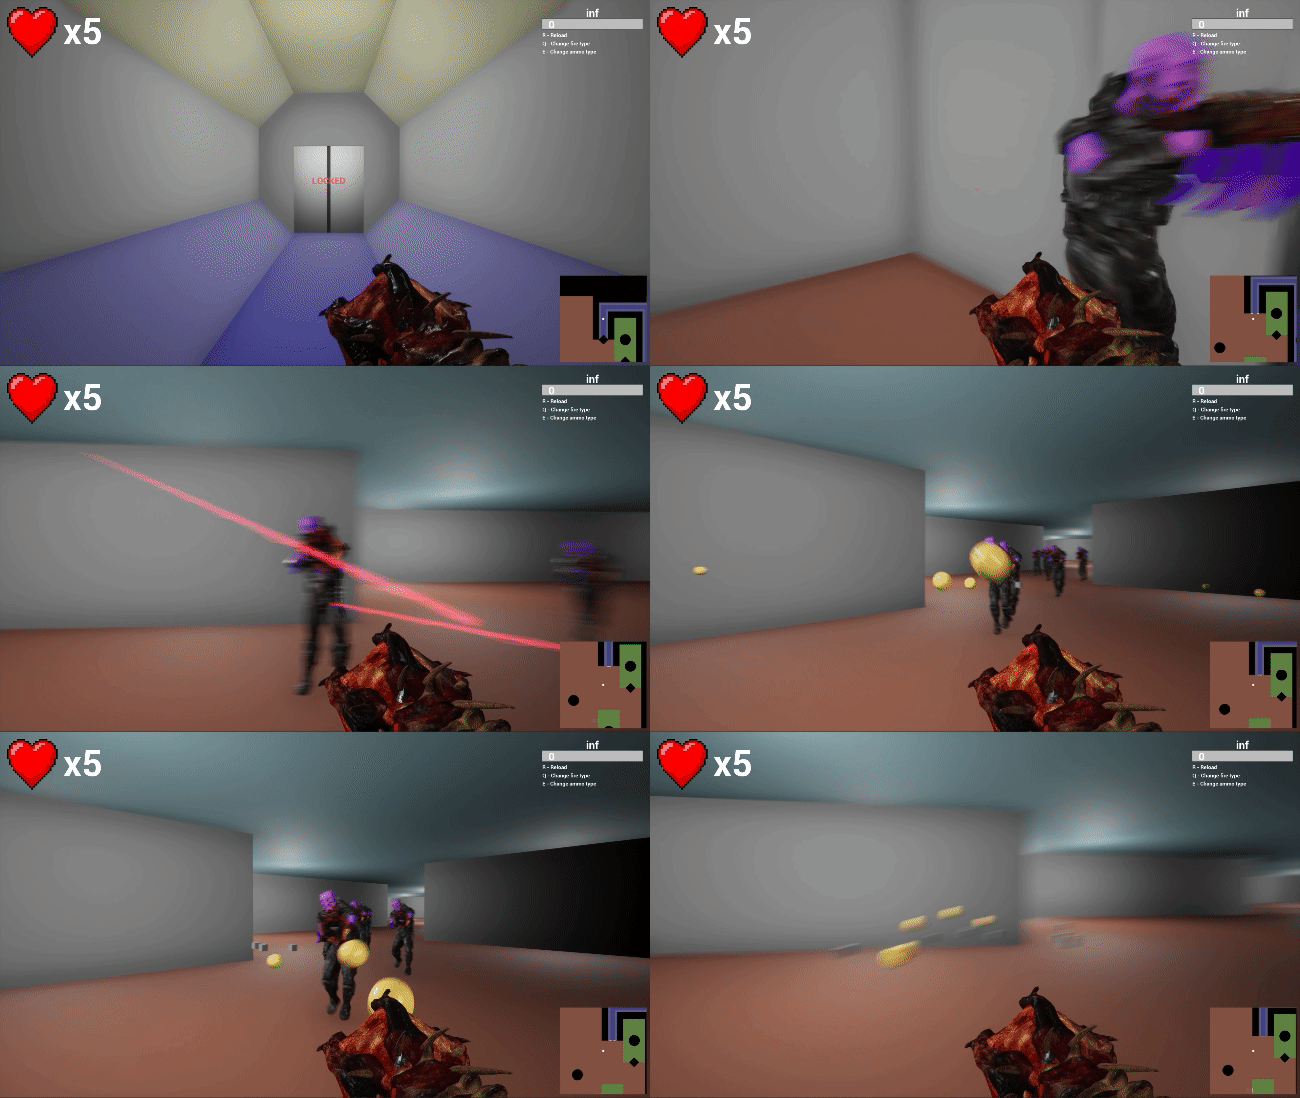
SRL is a rogue lite FPS game that takes place on alien base. You are an escaped tet subject and your main goal is to find exist from this base full of aliens. Due to experiments you now have biological weapon instead of one arm that has mind on it's own. It's up to you how to change and use it.
Introduction
That was my first video game development in team. It consisted of 3 Programmers, 1 Game Designer, and 2 Artists. In the team only I had the real experience working in development, therefore I took leading developing position on basic gameplay features. I started with implementing new framework GAS within our game, took responsibility for our Weapon System since it's major feature for rosue-lite games. I continued studying AI, exploring perception stimuli this time. Later on I took in work Level Generation mechanism with Binary Space Partition (BSP) after one of or developers stepped out.
Gameplay Ability System
When we began, GAS had just been released, and the lack of documentation was the main challenge. Our game, by design, required a plethora of different abilities, and the new framework had the potential to greatly increase our productivity in that area.
For those unfamiliar with GAS, it's a framework that essentially treats everything as abilities and effects. Every actor within the system has a special component and a struct of attributes that can be altered by this system. Let's consider a simple example with a fireball. When you use the fireball ability, the system checks if you can do so by examining a set of special tags on the character that can represent different states, such as cooldowns or magical debuffs. If everything is in order, it applies a cooldown effect on the pawn to prevent it from being used again too quickly, and then spawns a fireball. Upon impact, the fireball causes specified gameplay effects on every actor with a GAS component within the explosion radius. These effects could include applying damage to reduce health, adding a burn effect to inflict damage over time, or adding or removing gameplay tags. With this framework, everything can be considered an ability, even something as basic as jumping.
Understanding how to implement this in our game without documentation or tutorials required significant effort. Fortunately, I managed to navigate our game onto these tracks and implemented the framework not only for classical abilities but also for the cool weapon system I had envisioned.
Weapon system
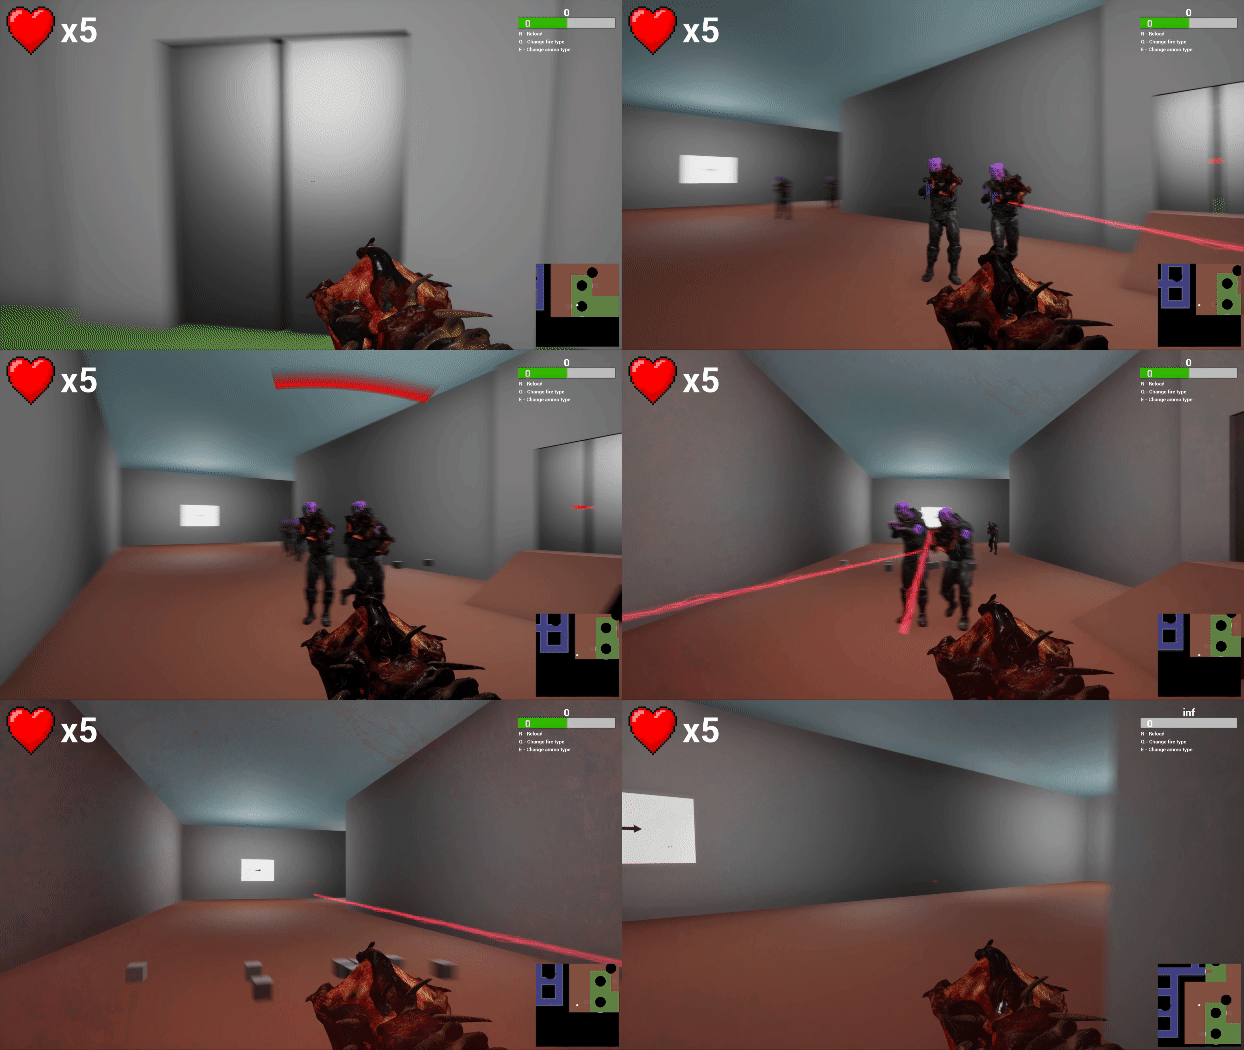
It was an interesting challenge to create a weapon system for a game fully based on diverse gameplay, weapon modulation, and craft. The designer's idea was to allow the player not just to change the main weapon but to modify it, as it's a part of the body that constantly evolves. With that in mind, I had the task of building a modification system that lets players switch weapons not only when they're upgraded but also during battle, reflecting the strange nature of a weapon that has a mind of its own.
With that in mind, it was the perfect opportunity to use the Strategy pattern. We have a basic weapon actor that handles weapon functionalities such as shooting, recoiling, animations, etc. However, the weapon itself doesn't have any logic implementation; all logic is placed in UShootComponent, and the current stats of the weapon are stored in a special Config struct that is initialized from a UDataTable. When the Shoot() function is called, it uses ShootComponent->Shoot(); to define the actual shooting mechanism. This allows us to dynamically change states while shooting. The config can also be changed to reflect buffs or different ammo types (projectiles, traces).
Additionally, I added the ability to have gun modifiers with different types and purposes. All of these modifiers are configured with a data table by the designer and can be crafted or obtained in battles. They can simply modify stats in the config or add additional firepower, like a smaller gun that possesses the same ability to fire.
What I learned
Working in a team proved to be very beneficial for me. While developing the weapon system, I had to collaborate closely with game designers to ensure that the mechanics were not only enjoyable and useful but also easy to configure. I also understood how I can be helpful in different fields of developent. Implementing GAS in a game raised necessity to communicate with other developers to help them with usage of this system.
Planning was a crucial element for our team during this project. Given the complex schedules of each member, we made a lot of effort to find time for a project. Despite our enthusiasm and dedicating half a year to the project, real-life constraints prevented us from completing it.
Rift runner
About
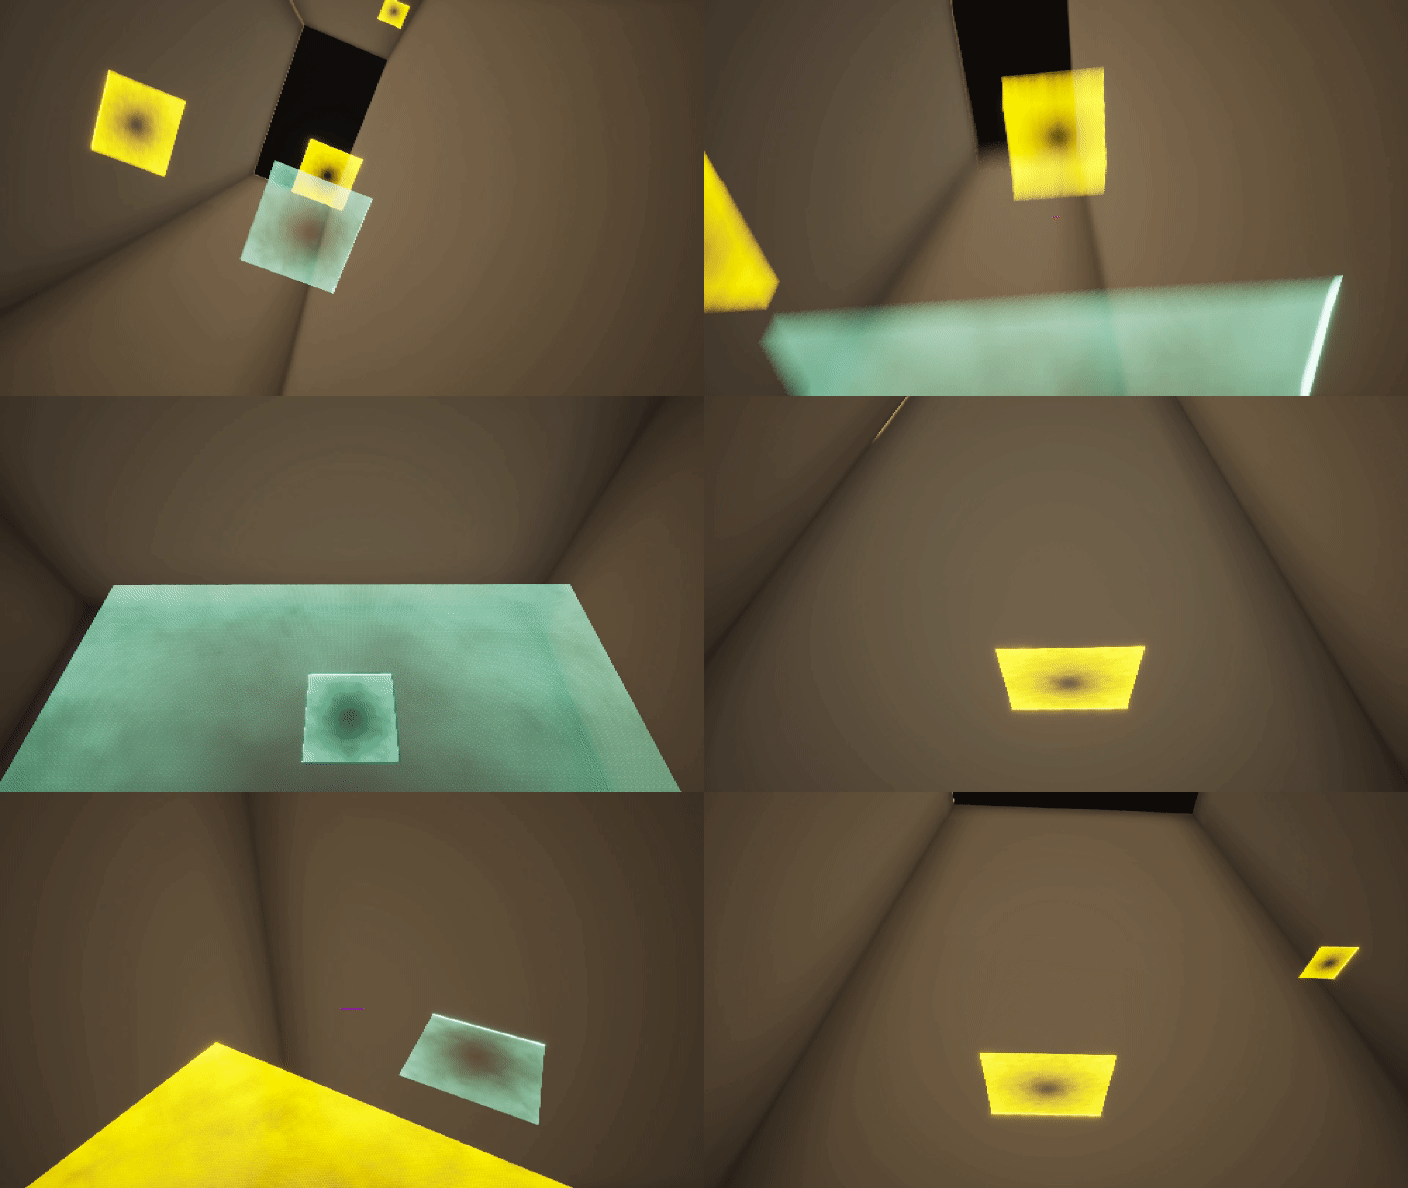
My latest project is still in development and will be updated in the near future. I am interested in studying various types of teleportation mechanics and have decided to incorporate them into a game. There are three methods of changing your location apart from using standard movement, and you must combine them in order to move further.
Introduction
I'm a fan of non-standard game features and their implementation in games. After all, it's these unique elements that help a game stand out from all others. The teleportation mechanics in this game aren't entirely unique; you can see them in franchises like Portal, Titanfall, or Dishonored, which I happen to love. As a developer, I'm interested in reproducing them myself to gain experience and have fun.
With this project, I'm exploring what can be done with these mechanics beyond what we've seen before and how they can be used outside of puzzle or shooter genres.
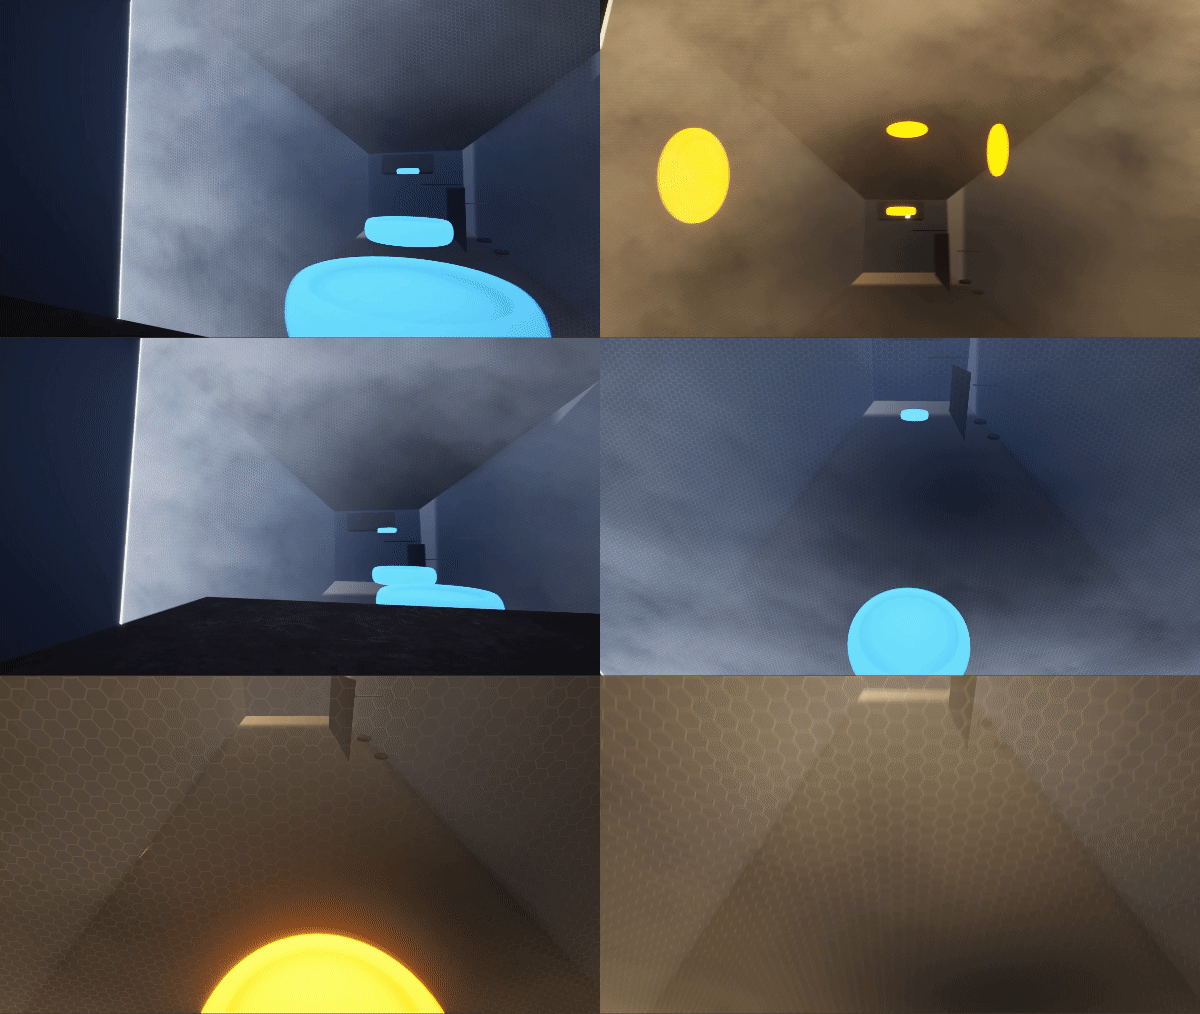
Portals
I was very interested in understanding the mathematics behind how portals work, so I decided to try making it myself. While creating such a mechanic, I had to solve two main problems: how to display the other side of the portal and when to teleport the player. Let's focus on the first one.
To achieve a correct reflection of the space, we need to position our "reflection" camera behind the second portal at the same relative position as our character is to the first portal.
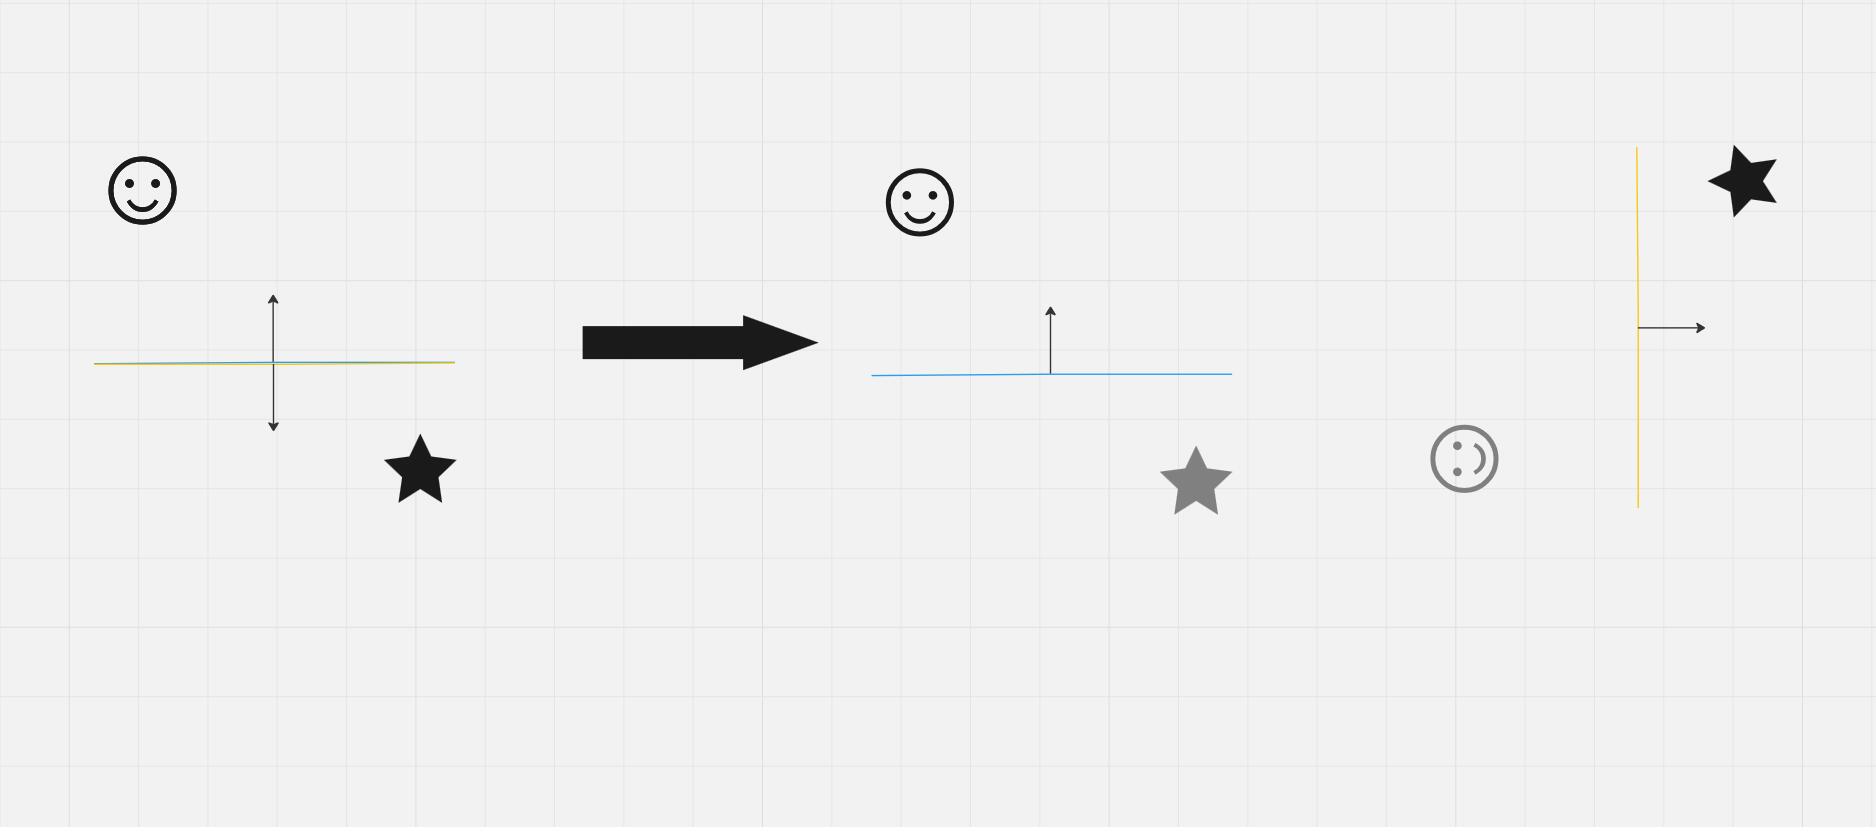
After spending some time grappling with understanding how it works, we can proceed to write code to calculate the location of the "reflection" camera:
FTransform MirrorTransform{LinkedPortalTransform};
// rotate portal 180 degrees because the linked portal looks in opposite direction
MirrorTransform.SetRotation(MirrorTransform.GetRotation() * GetQuatUpRotation180());
// calc camera location relatively to portal pawn is looking on
const FVector RelativeLocation{MirrorTransform.InverseTransformPosition(PlayerLocation)};
// transform relatively to portal that's capturing
const FVector MirrorCameraLoc{GetActorTransform().TransformPosition(RelativeLocation)};
After that we need to calculate rotation as well:UE::Math::TVector<double> ATeleportationPortal::MirrorVector(const FTransform& OppositeTransform, const FTransform& OriginalTransform, const FVector& V)
{
return OppositeTransform.TransformVectorNoScale(MirrorVectorRelativeTo(OriginalTransform, V));
}FRotator ATeleportationPortal::CalculateOppositeSideRotation(const FTransform& OriginalTransform, const FTransform& OppositeTransform, const FRotator& PlayerCameraRot)
{
// Change camera rotation to local transform for each rot axis and mirror it (just like we look at the mirror)
// Return it in our world transform after that
FVector X, Y, Z;
UKismetMathLibrary::BreakRotIntoAxes(PlayerCameraRot, X, Y, Z);
const auto XAxis{MirrorVector(OriginalTransform, OppositeTransform, X)};
const auto YAxis{MirrorVector(OriginalTransform, OppositeTransform, Y)};
const auto ZAxis{MirrorVector(OriginalTransform, OppositeTransform, Z)}; return UKismetMathLibrary::MakeRotationFromAxes(XAxis, YAxis, ZAxis);
}All that left is to calculate this data every frame and update USceneCaptureComponent2D transform and UTextureRenderTarget2D.
Universe shift
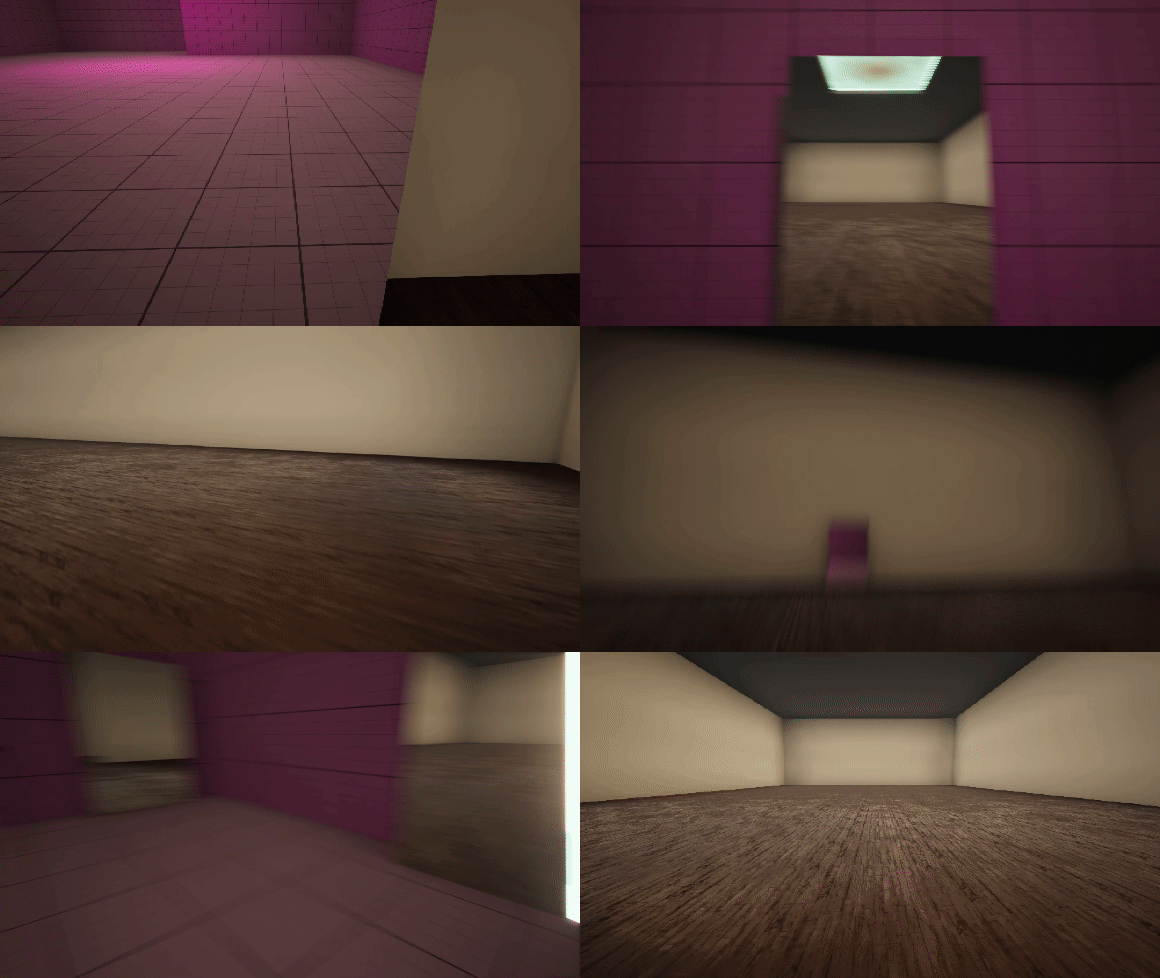
You could see "Universe shift" in such games like Titanfall 2 and Dishonored 2 when the player can change the level around him. In both games it was explained by a time travel mechanics. In both games, this feature is explained by time travel mechanics. I decided to implement this mechanic myself, as it aligns with the theme of a game centered around teleportation. While developing it, I found two different ways of implementation:
1. Two duplicates of surroundings on one level. In this case, teleportation can use a simple offset: TeleportTo(Location + Offset, Rotation);
2. Create two sublevels and put their assets that should change or appear with shifting load level when the player shifts between universes:
UGameplayStatics::LoadStreamLevel(this, WorldToStream, true, true, LatentInfo);
UGameplayStatics::UnloadStreamLevel(this, CurrentWorld, LatentInfo, true);
The downside of the first method is that it requires duplicating the visible world, which can be a tedious process and may consume more computer resources. However, progress is easily saved between worlds, allowing for interactions such as leaving items in one world before shifting to another. Additionally, enemies can persist in both worlds without their health being reset. On the other hand, the second method involves resetting worlds upon shifting. However, creating the world is less complicated since only parts of the world need to be added to the sublevel, leaving consistent parts in the main level.
What I learned
With this project I understood that it's very hard to handle all aspects of development on your own. Developing a game as a solo developer is challenging due to managing scope, limited expertise across various disciplines, time and resource constraints, and the absence of collaborative support. Working in a team offers the benefits of diverse skills, enhancing creativity, and sharing the workload, leading to more efficient problem-solving and higher-quality outcomes.